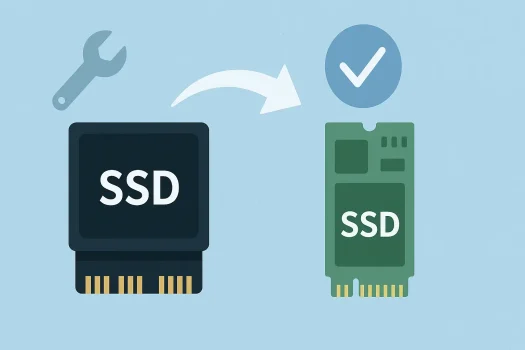
Ready to upgrade to a blazing-fast NVMe SSD? Or looking to secure your critical data? Cloning your NVMe drive is the smartest way to transfer everything—your operating system, apps, files, and settings—without the hassle of reinstalling Windows or starting from scratch.
Whether you’re a seasoned tech user, an IT professional, or simply upgrading for better performance, this guide will show you the most effective way to clone NVMe and make the switch seamless.
Before Cloning Your NVMe SSD
Before initiating the cloning process, verify your system meets all requirements and prepare the necessary tools to prevent errors and ensure successful data migration. Here’s what you’ll need:
✅A New NVMe SSD
Ensure the new drive has enough capacity to hold all the data from your current SSD—at minimum, it should match or exceed the amount of space currently in use.
✅An M.2 Slot or NVMe Enclosure/Adapter
If your system only has one M.2 slot, you’ll need an NVMe-to-USB enclosure or a PCIe adapter to connect the second drive externally.
✅A Small Screwdriver
M.2 SSDs typically require a tiny screw to be fastened securely to the motherboard. Double-check if your system or SSD includes one.
✅Reliable NVMe Cloning Software
To streamline the process, use trusted disk cloning software. AOMEI Cloner stands out for its ease of use, speed, and compatibility with NVMe SSDs. Learn why choose AOMEI Cloner for NVMe SSD cloning below:
- User-Friendly Interface: Navigate with ease using a clean, intuitive dashboard. Step-by-step guidance makes the cloning process simple—even for beginners.
- Comprehensive NVMe SSD Support: Optimized for modern NVMe standards, including PCIe 3.0 and 4.0. Fully compatible with leading brands like Samsung, WD, Crucial, Intel, and more—across M.2 and U.2 form factors.
- Versatile Cloning Modes: It offers Disk Clone to create a full 1:1 replica of your entire drive, System Clone to migrate only your OS and necessary boot partitions, and Partition Clone to clone a specific partition of your choice with precision.
- Advanced Cloning Features: Easily resize partitions when moving to a larger or smaller SSD. Plus, enable 4K alignment to boost performance, reduce wear, and extend your drive’s lifespan.
How to Safely Clone Your NVMe SSD in Windows
Cloning your NVMe SSD using specialized disk clone software – AOMEI Cloner is simple and reliable. Follow the steps below to ensure a smooth, error-free migration of your data and operating system.
Step 1: Connect the New NVMe SSD
- Dual M.2 Slots: If your motherboard supports two M.2 slots, install the new NVMe SSD in the available slot.
- Single M.2 Slot: Use an NVMe-to-USB enclosure or a PCIe adapter to connect the new drive externally.
Step 2: Launch AOMEI Cloner
- Download and install AOMEI Cloner from the official website.
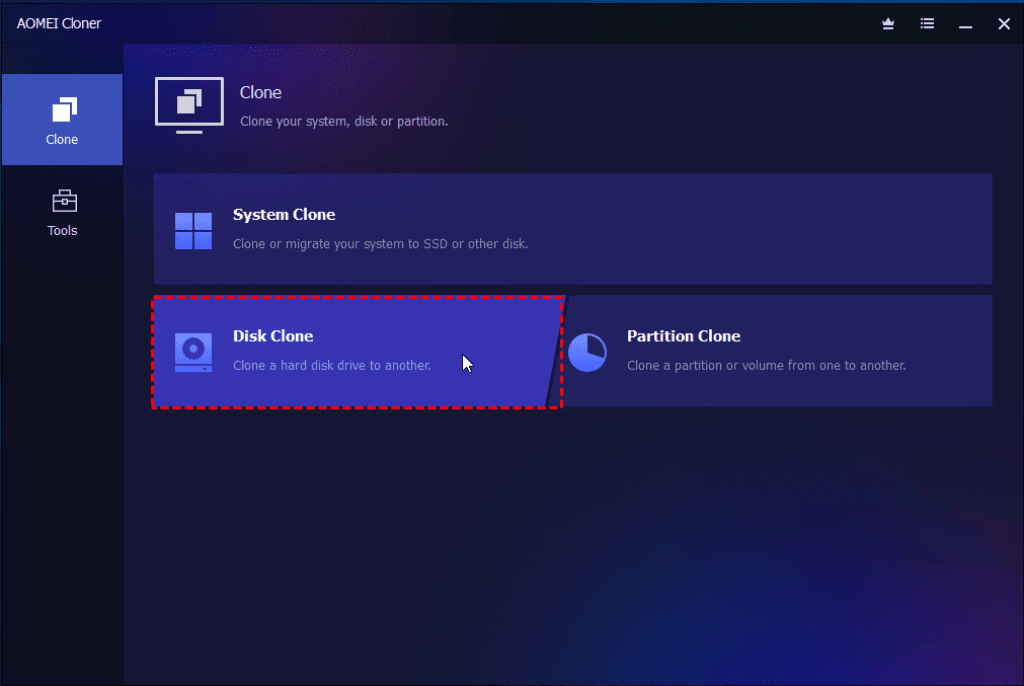
- Open the application, select Clone from the sidebar, then choose Disk Clone.
Step 3: Select Source and Destination Drives
- Source Disk: Choose your current NVMe SSD (typically labeled as Disk 0).
- Destination Disk: Select the new NVMe SSD. Double-check to avoid accidental data loss.
Step 4: Configure Cloning Options
- Edit Partitions: Resize partitions to utilize full disk space or convert between MBR and GPT formats.
- SSD Alignment: Turn on 4K alignment during cloning to boost SSD speed and lifespan.
- Sector-by-Sector Clone: For an exact, bit-level copy—including unused sectors. Note: This disables partition editing and may take longer.
Step 5: Start the Cloning Process
- Click Start Clone to begin.
- The process runs in the background. Avoid interruptions to prevent data corruption.
Step 6: Replace the Drive & Boot
- Shut down your computer once cloning is complete.
- If replacing the old SSD, remove it and install the new NVMe SSD into the original M.2 slot.
- Boot into BIOS/UEFI, navigate to Boot Options to set the new SSD as first boot device, and save your changes.
- Exit BIOS and boot into Windows. Your system should now start from the new SSD—faster and fully functional.
Conclusion
Cloning your NVMe SSD is the most efficient way to upgrade or replace your drive without the hassle of reinstalling Windows or losing data. With the right tools and a reliable cloning solution, the process is quick, safe, and straightforward.
AOMEI Cloner stands out for its intuitive interface, robust NVMe support, and versatile cloning features—making it an ideal choice for both beginners and seasoned users looking for a seamless SSD upgrade.
Further Reading & Helpful Guides
- How to Clone Your Hard Drive for Free
- Best Deployment Toolkit in Pakistan
- AOMEI Partition Assistant vs EaseUS Partition Master in Pakistan
- MiniTool Partition Wizard in Pakistan Choose the Right Tool
- Disk Health Checker Tools Pakistan
- Best Data Recovery Software in Pakistan
👉 Explore more articles in our File & Drive Recovery blog category
Explore System Migration Tools
Ready to start your upgrade? Discover trusted solutions for disk cloning and seamless migration in our System Migration & Deployment category.